Ever since I have owned a PC I have always wanted to make a something that stands out in a crowded room, a case, a case with lights and well will not cost that much to achieve. Now I have finally done it. I love for all my products now to come with RGB lighting, Peripherals, gaming desk, even strip lights around the edge of my ceiling so why now a PC Case, so I did, I set out to create a flashy, not so much over the top gaming rig.
So what did I get for this build;
- Crucial 250GB and a 750GB SSD’s
- Toshiba 2x 3TB and a 6TB
- Intel Core i5 7600, Kaby Lake, Quad Core, 4 Thread, 3.5GHz, 4.1GHz Turbo, 6MB Cache, CPU
- 32GB of RGB Kingmax ZEUS DDR4 Gaming Ram
- Game Max Abyss Case
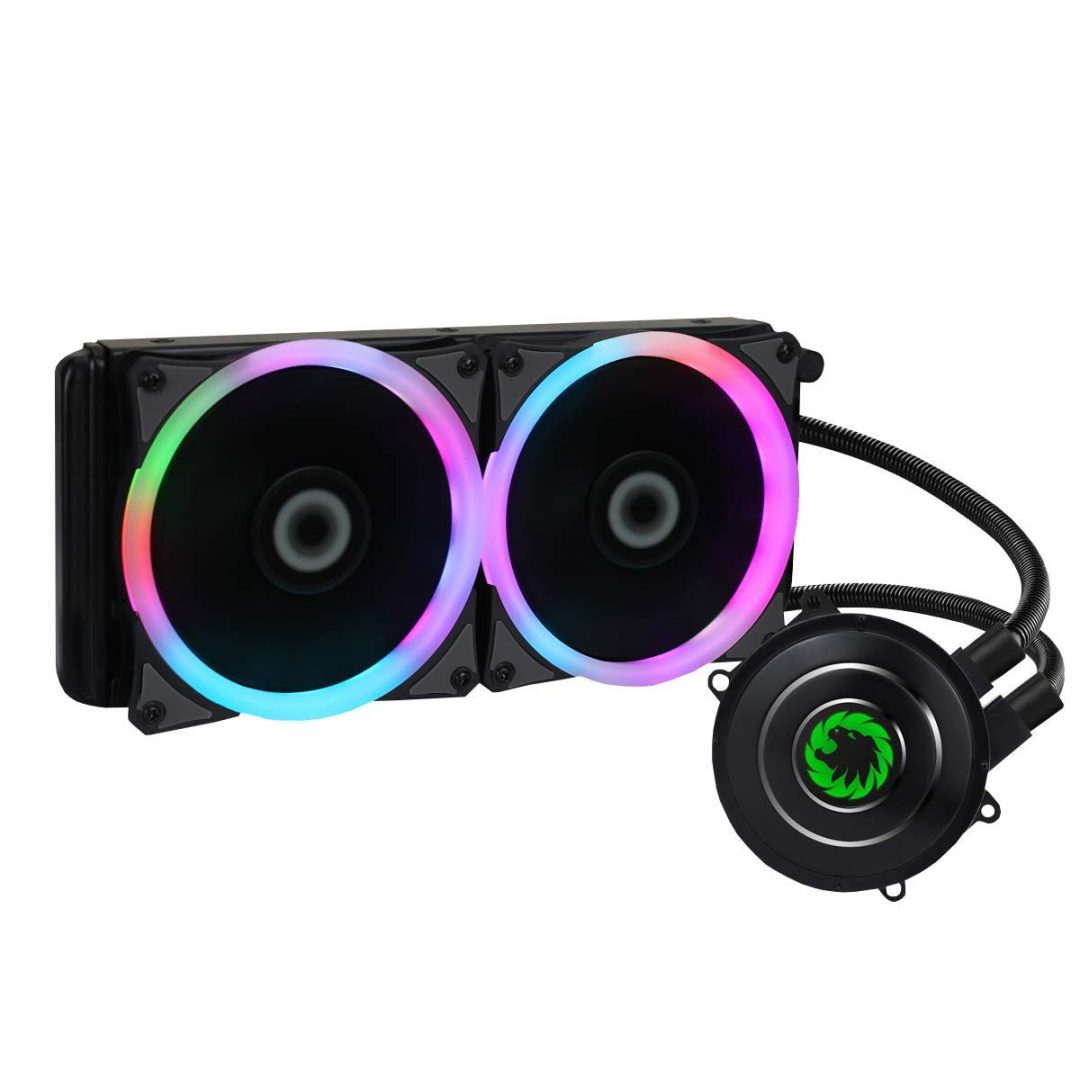
- Game Max Iceberg 240 Mm Water Cooler
- MSI Z170A Gaming M3 Motherboard
- GPU is an MSI GeForce RTX 2060 GAMING Z 6G
- TP-Link TL-WDN4800 N450 PCI-E Network Card
- Cooler Master V850 PSU
- Bluetooth Asus BT-400 Dongle
A massive thanks to Amazon, Cooler Master, MSI, Intel, Kingmax, Crucial, Toshiba and a WTF to Gamemax.
Wondering why we said WTF to Gamemax? well, when James (One of our writers) ordered the case through Amazon it came with an award, Claim your free Gamemax Goodie worth up to £500. What we got sent was 2 fans worth £20.00, at the time we got them, Amazon was selling them for £4.99ea. So from the amazing £500 worthy product, we got two fans costing £4.99ea, nice to get free products, but a total joke to the average purchaser that went out of their way to put a review on Amazon to help promote their product. James was not bested please as you can tell.
Back onto the build, first the motherboard an MSI Z170A Gaming M3 with latest Bios updated runs off socket 1151 and support up to an i7 CPU. Supports up to 3600(OC) DDR 4 Memory, with a max memory of 64GB based on 4 DIMM slots. 2x PCI-Ex16, 2x PCI-Ex1 and a PCI-E Gen 3 and 3 STD PCI. Comes with 2 SATA Express ports and 4 SATA3 ports and 1 2280 M.2 SSD Slot, enough slots for loads of storage. Has support for USB 3.0 front and has 4 USB Gen 1 and 2 USB Gen 2 3.1 Ports on the back, and the old school USB 2.0 x 2. Forgot to mention that the motherboard’s form factor is ATX.
The first thing I did was attached the CPU to the Pin set, easy to do, slots in and can only be slotted in one way, easy job, pull a lever up, with the placeholder for the CPU, slot in CPU, push back down, clip in place, how hard is that. Next thing to do was attach the motherboard to the case, using motherboard feet and screws, another simple job, but it was not going to be that easy to finish this part of the build as I had the water cooler from Cooler Master to attach.
The Game Max Iceberg 240 Mm Water Cooling system, sealed and pressure tested, which will require no maintenance for years, the questions is how many year? Comes with an optimized water block, which offers the best water flow and system performance. A 240mm Radiator for heat dissipation and a 120mm Advanced PWM Fan that changes 7 different colours, colours include Red, Green, Blue, White, Purple, Orange, and Yellow.
The CPU Cooler was rather easy this time to attach, all I had to do was assemble the Mounting bracket, then push the mounting bracket through the back of the motherboard through four holes around the CPU.
Once I had the mounting bracket through, it was time to thermal paste the CPU, for this I used Artic MX-4 Thermal compound, I have always used this compound and trust it more than anything else on the market currently, so it was a no brainer what I was going to use.
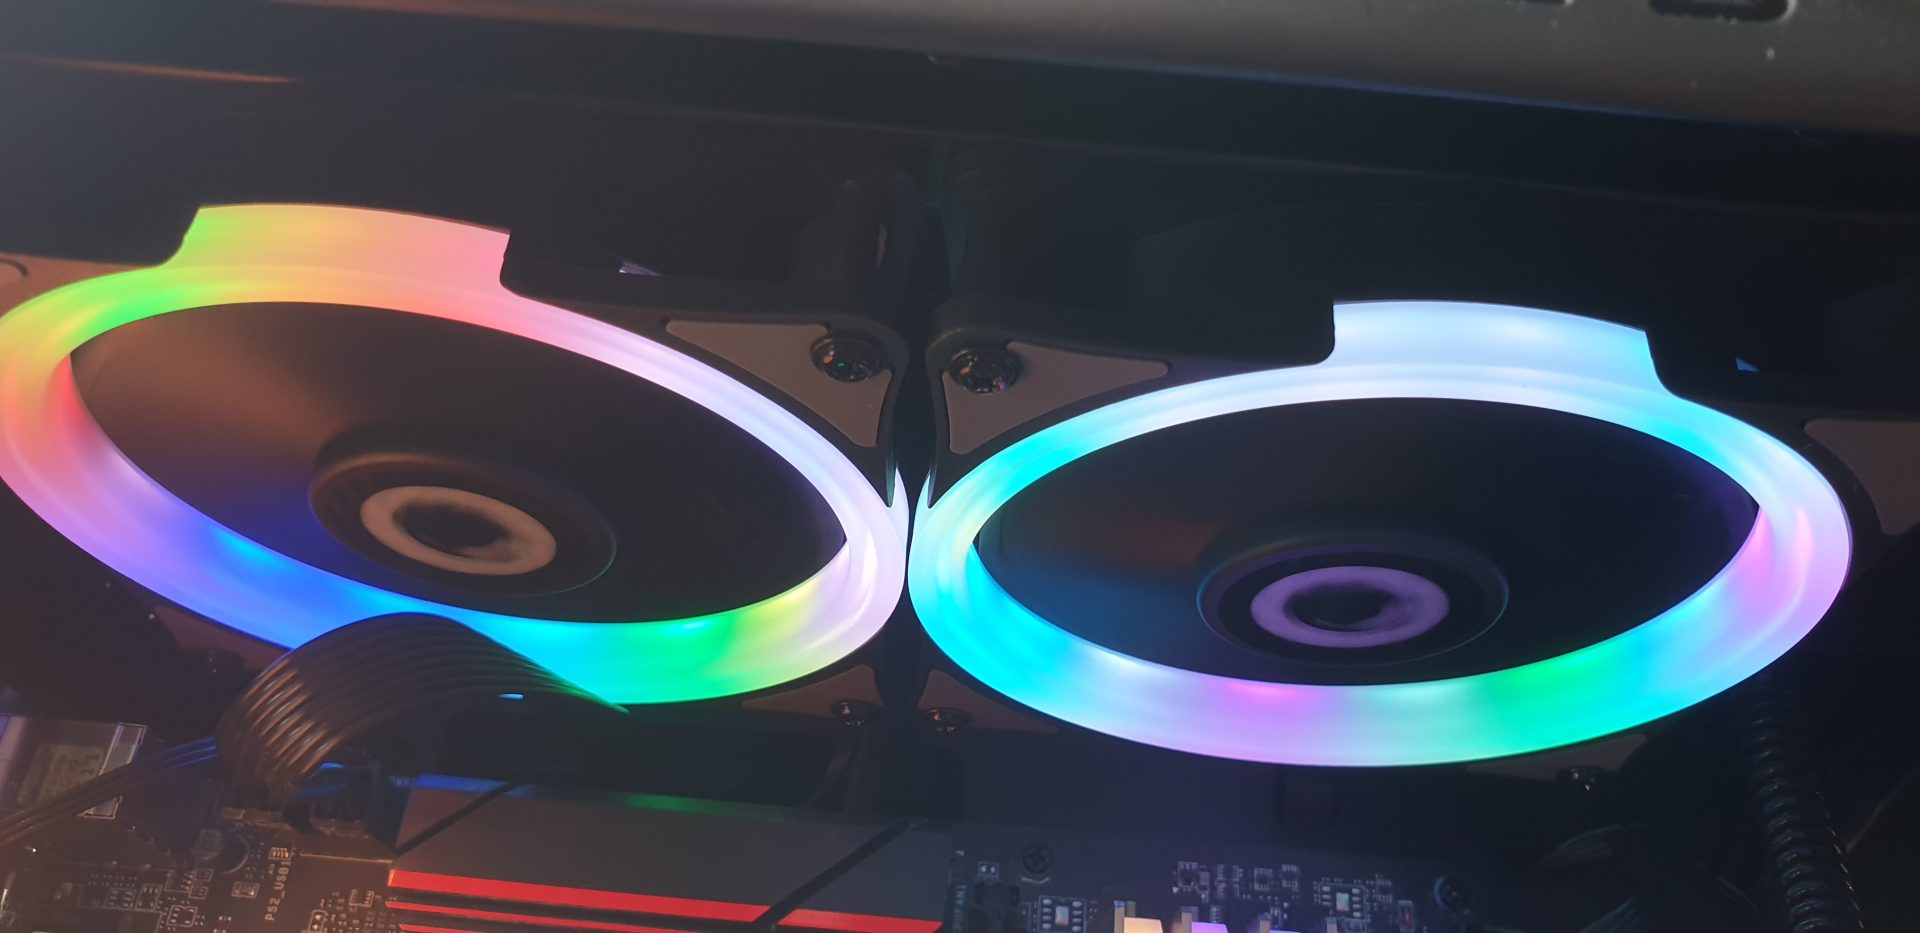
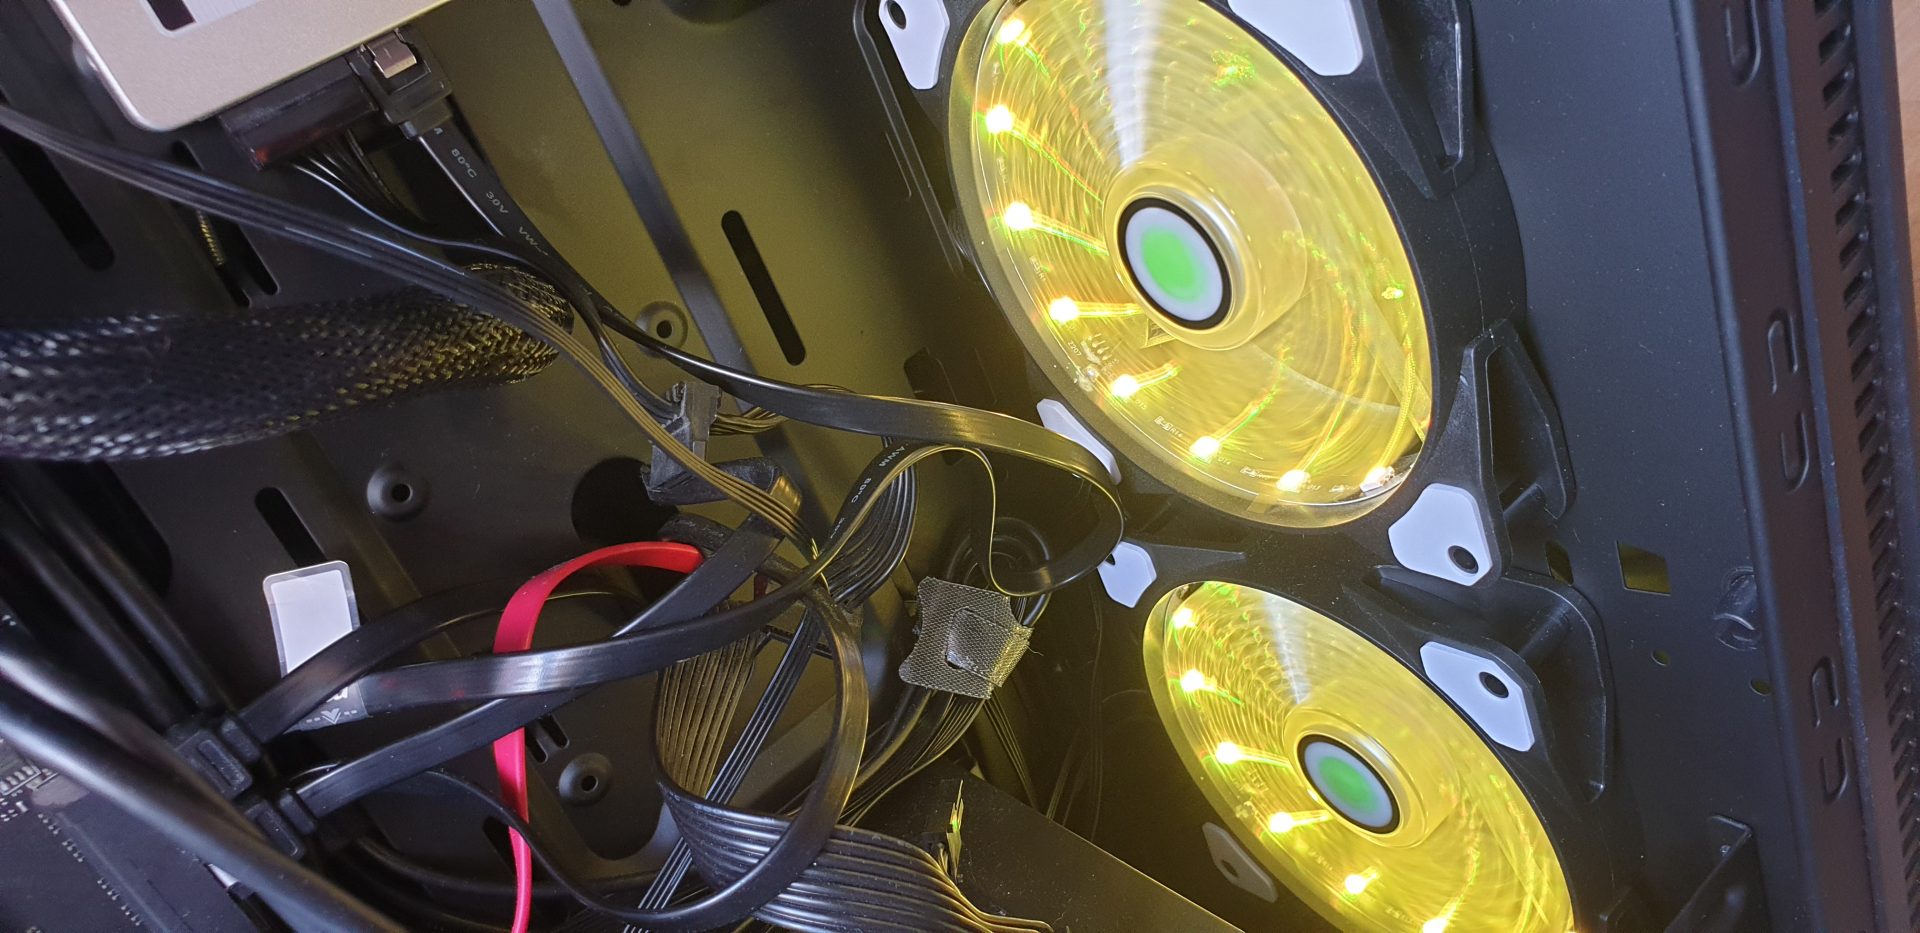
After pasting a small amount on the CPU it was time to mount the Cooler to the case. I had already attached the 2 x RGB fans to the radiator and was now ready to attach the radiator to the top of the case with eight screws. The picture below shows the final look of the fans running along with the outer RGB glow design.
So I slowly aligned up the Cooling block bracket the mounting bracket, and the tightening up up the screws one at a time, with an equal amount of tightening per screw, not to tighten up one side more than another, this is highly recommended.
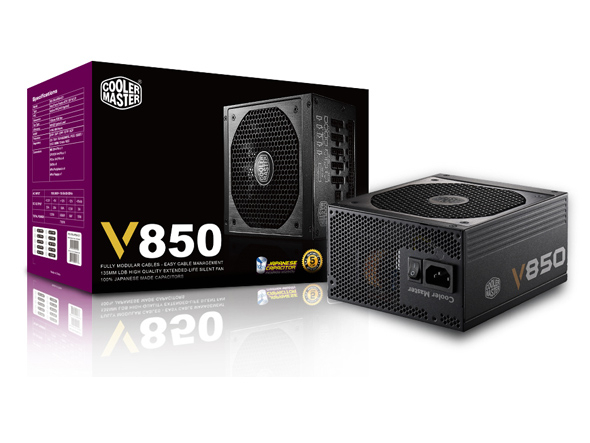
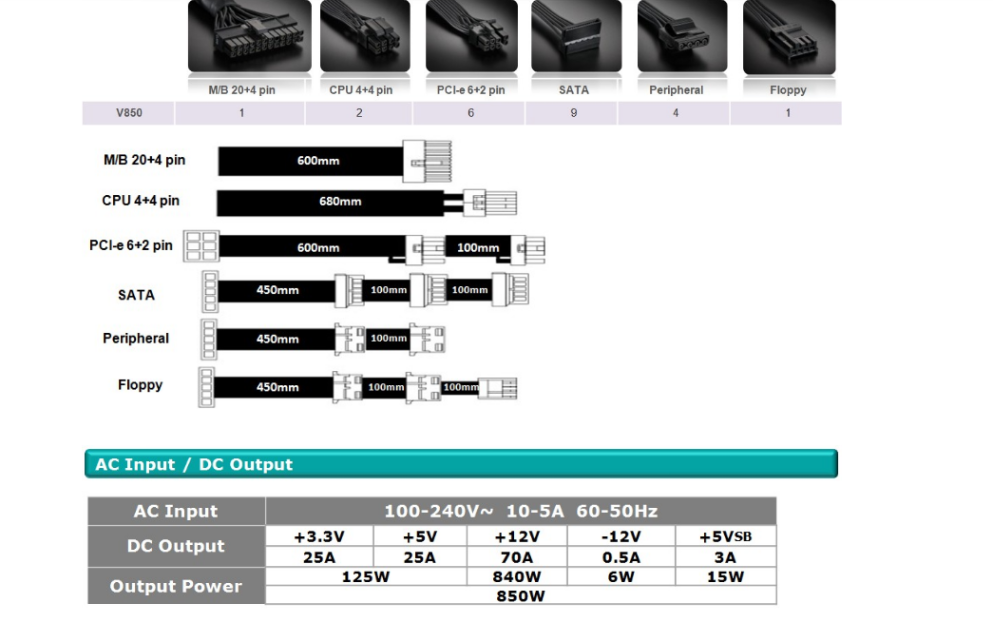
That was the tricky part done, the rest would be simple to a degree, next to install would be the Cooler Master V850 PSU a fully modular cable design with a single 1000w _12V output that delivers up to 70A. Has a 135mm FDB fan for low noise and long lifespan and six PCI-E 6+2 pin connectors for those high-end GPU’s enthusiasts.
The cables you get are 1x M/B 20+4 pin, 2x CPU 4+4 pin, 6x PCI-e 6+2 pin, 9x SATA, 4x Peripheral and 1 floppy.
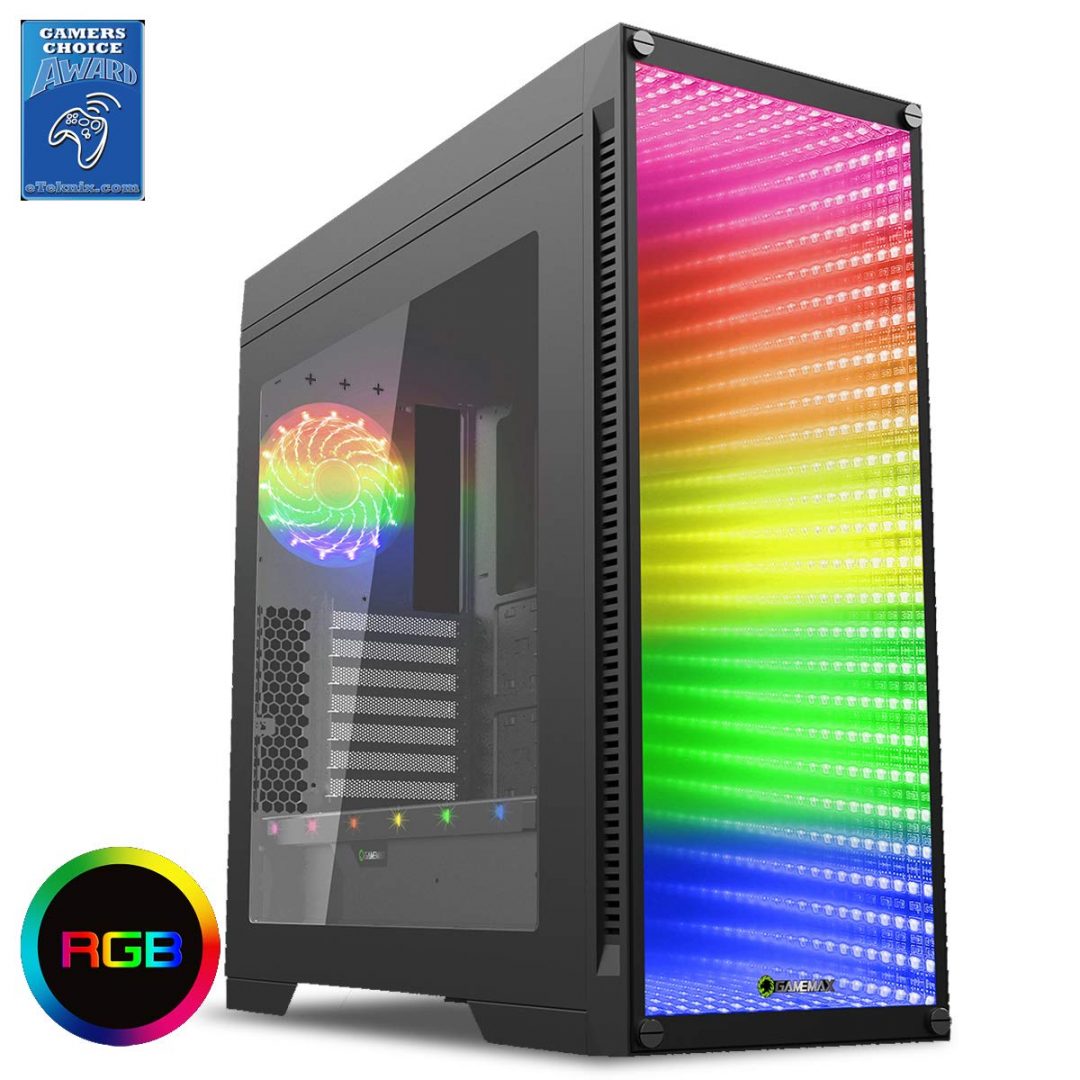
Now on to the Case which is the Game Max Abyss, Now IGNORE the actual image of the amazing rainbow RGB lighting as it is not possible to create (False advertising in a way)
The Game Max Abyss with an infinity mirror with RGB LED lighting on the front and a tempered glass front panel with a Perspex side panel. The most important adjustment feature is directly in the eye with an intelligent integrated infinity mirror at the front.
This optical illusion is created by a glass front, consisting of an outer one-way mirror, which partially reflects light on its inner side and is partially transparent to the exterior and a fully reflecting mirror inside, placed parallel behind it. The light emitted by an RGB LED strip arranged in the gap around the walls is thus reflected back and forth between the two mirrors, whereby, with each reflection, a part of the light penetrates visibly outwards and ultimately produces the visual effect.
The principle corresponds to the mirrors in police interrogations frequently shown in crime series and films. There is also an RGB LED strip on the PSU cover. The highlight of this lighting arsenal is its complete configurability with adjustable colours in the RGB kit built-in, along with the PWM function, to produce silent cooling and the Abyss offers seven different LED colours at the front and on the side panel with the RGB LED strip and it offers five different colour lighting effects.
The colours include Red, Green, Blue, White, Purple, Orange and Yellow which allows an amazing lighting show to be arranged according to your own ideas.
Can has space for the following;
- 3 x 2.5″ Internal
- 2 x 2.5″/ 3.5″ Internal
- 1 x 3.5″ Internal
- 7 Standard Expansion Slots
- 2 x 120/140mm and 4 x 120mm Fan Bays
- Supports ATX, E-ATX, MicroATX, and Mini-ITX
Includes the following;
- 1 x Headphone Out
- 1 x Mic In
- 2 x USB 2.0
- 2 x USB 3.0
The two fans we got for free from the stingy folks over at Game Max are the Storm Force RGB Ring Fan with 16.8 Million colours.
The Game Max Storm Force RGB Fan with its advanced hydraulic bearing system, allows increased airflow, while keeping the noise levels to a minimum. The rubber gaskets aid in the reduction of any noise created due to the vibration of the fan movement. The 15 RGB LED’s, you can choose from 7 different colours, they include Red, Green, blue, Cyan, White, Purple and Yellow, allow the gamer to create a unique look to the computer system and with a 4pin connector gives the user full compatibility.
Again do not expert the same light show shown in the picture above its impossible, another false advertisement. I had these two fans to the front of the case.
Now I decided to slot in the Memory, a whole 32GB of Kingmax Zeus Dragon DDR4 RGB Gaming Memory
- Data rate- 3000MHz
- Bandwidth – 24.0GB/s
- CAS Latency – CL=16
- Voltage (VDD) – 1.35V
- Capacity – 8GBx2 / 16GBx2
- Internal Banks – 16
- Operating temperature – 0~70°C
Now for the geeks out there, the performance test with Passmark for the Memory
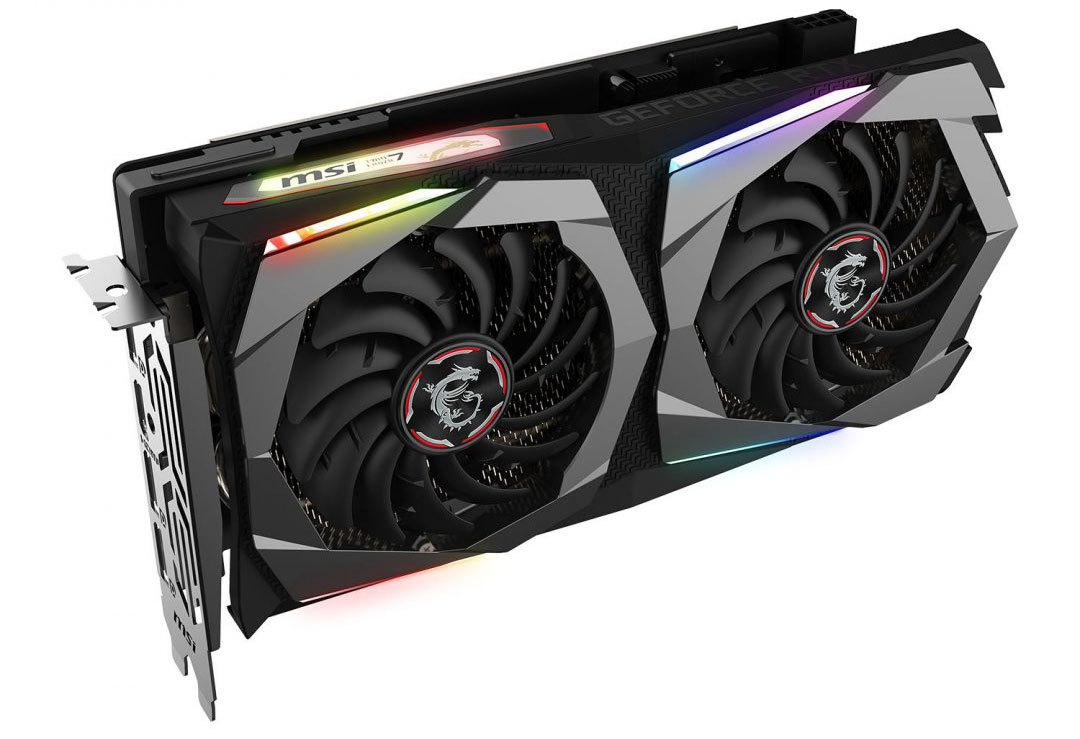
Then we have the new MSI GeForce RTX 2060 GAMING Z 6G
- MODEL NAME – GeForce RTX 2060 GAMING Z 6G
- GRAPHICS PROCESSING UNIT – NVIDIA GeForce RTX 2060
- INTERFACE – PCI Express x16 3.0
- CORES – 1920 Units
- CORE CLOCKS – Boost: 1830 MHz
- MEMORY SPEED – 14 Gbps
- MEMORY – 6GB GDDR6
- MEMORY BUS – 192-bit
- OUTPUT – DisplayPort x 3 (v1.4) / HDMI 2.0b x 1
- HDCP SUPPORT – 2.2
- POWER CONSUMPTION – 190 W
- POWER CONNECTORS – 8-pin x 1
- RECOMMENDED PSU – 500W
- CARD DIMENSION(MM) – 247 x 129 x 52 mm
- WEIGHT (CARD / PACKAGE) – 957 g / 1525 g
- AFTERBURNER OC – Y
- DIRECTX VERSION SUPPORT – 12 API
- OPENGL VERSION SUPPORT – 4.5
- MAXIMUM DISPLAYS – 4
- VR READY – Y
- G-SYNC TECHNOLOGY – Y
- ADAPTIVE VERTICAL SYNC – Y
- DIGITAL MAXIMUM RESOLUTION – 7680 x 4320
For a general review of the GPU head here https://invisioncommunity.co.uk/nvidia-rtx-2060-review/
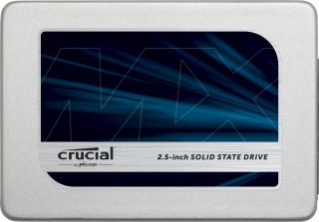
Memory all sorted time to move on the drives, so Boot Drive is a Crucial MX300 275GB
| Product Specifications | |
| Brand | Crucial |
| Form Factor | 2.5-inch internal SSD |
| Total Capacity | 275GB |
| Warranty | Limited 3-year |
| Specs | 275GB 2.5-inch internal SSD • SATA 6.0Gb/s • 530 MB/s Read, 500 MB/s Write |
| Series | MX300 |
| Product Line | Client SSD |
| Interface | SATA 6.0Gb/s |
| Device Type | Internal Solid State Drive |
| Unit Height | 7.0mm |
| Form Factor | 2.5-inch (7mm) |
And now for its speed test using Crystal Disk Mark 5
Both of the Crucial SSD had around the same Cystaldiskmark scores so there was no need to add two of the same.
Well those are the two SSD Boot drives thanks to Crucial for their Help sorting us out with those drives, we are now able to dual boot Windows 7 and Windows 10, so we should have no issues running any games or software from now on.
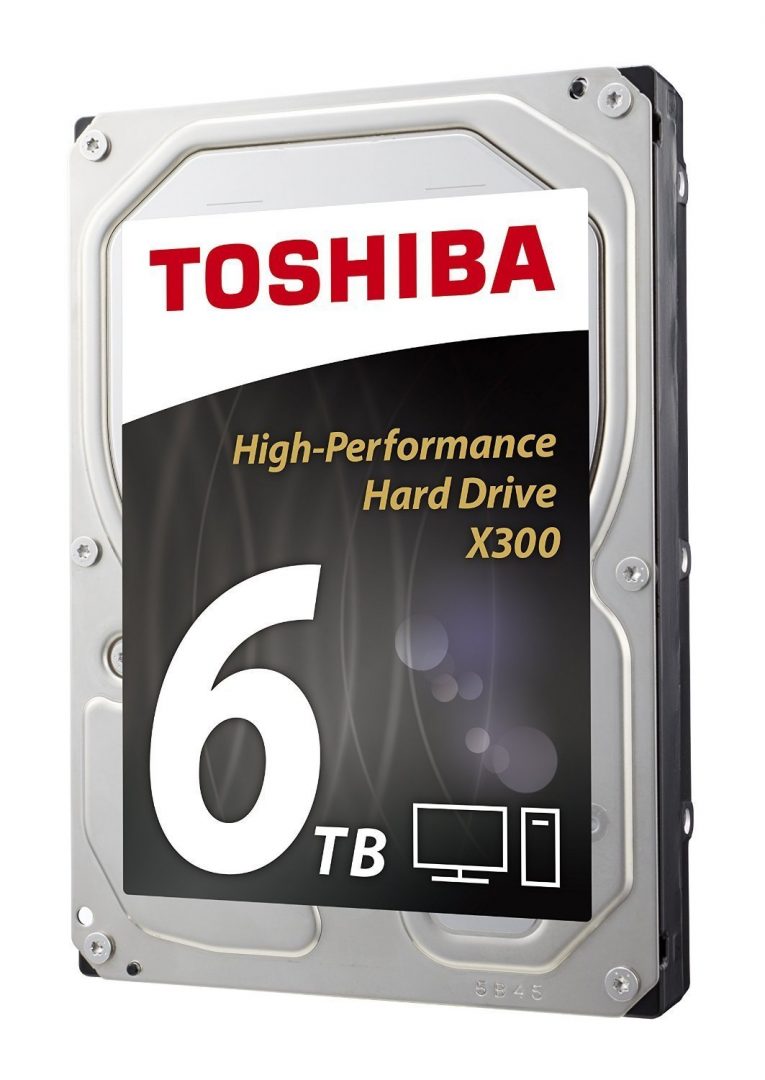
Now for the biggest HDD 6TB HDD Mass storage from Toshiba, with the X300 High-Performance Hard Drive.
| Form factor | 3.5-inch |
| Interface | SATA 6.0 Gbit/s |
| Capacity | 6 TB |
| Rotational speed | 7200 rpm |
| Buffer size | 128 MB |
| Dimensions | 147 (L) x 101.6 (W) x 26.1 (H) mm |
| Weight | ca. 770g |
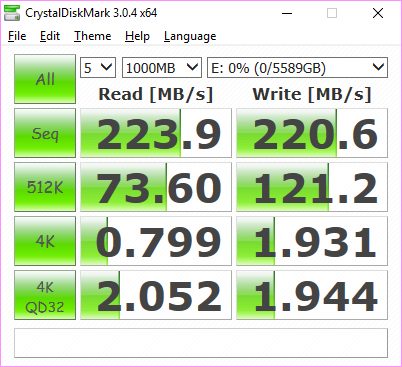
Crystal Disk Mark tests came back with these
This drive is for pure storage, not about speed and does the job perfect for all our gaming needs. Have to give a massive shout out to Toshiba for hooking us up with the Drive, Thanks, A lot.

Let’s go back a little, back to the CPU, I have got an Intel Core i5-7600K 3.80GHz (Kady Lake) Socket 1151 CPU and the specs look like this
Specification:
- Lithography Process: 14 nm
- Cores: 4
- Threads: 4
- Frequency: 3.80 GHz (Turbo Mode GHz)
- Integrated Iris (HD 630) Graphics with 350MHz base clock and up to 1150MHz max GPU clock
- Cache: 6MB shared L3
- Memory Controller: Dual channel DDR4 2133/2400/2666/3000/3200/3600/4000/4200/4400/4600/5000+ MHz
- Socket: LGA1151
Let’s do a Passmark score this CPU and see what it says
So that’s basically is here are some final images, again a massive thanks to all that support me on building this new case and I hope we can do more builds in the future.










You must be logged in to post a comment.