Is a table just a table right? Or is it? How about a gaming desk, ever heard of them? Well, I got one and DXRacer have something to cry over, as their desk is abysmal compared to this desk, welcome the Arozzi Arena Gaming Desk.
DXRacer you suck… at making desks.
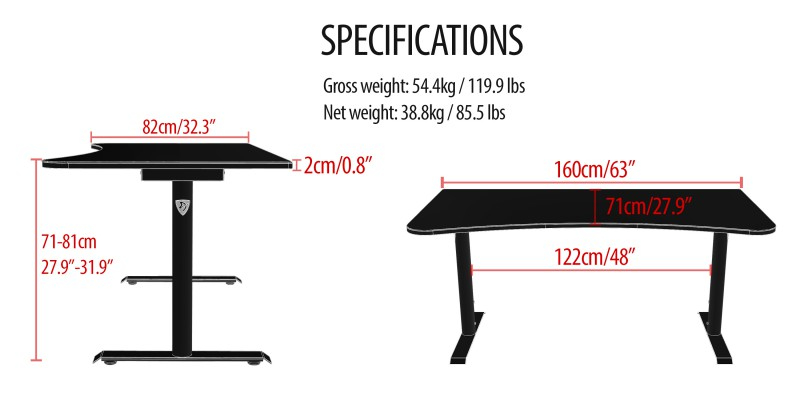
Let’s first look at the specs and Arozzi has a nice image to show this off:

So in laments terms, big and bloody heavy ok;
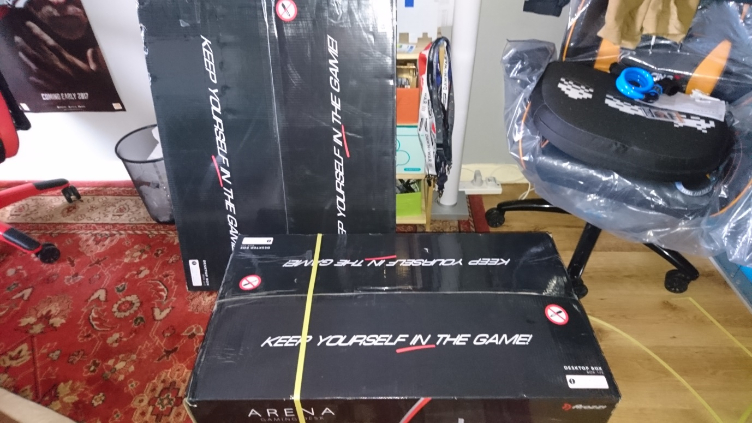
Now let’s see how it arrives, yep in van, now there is a good start, but the poor delivery driver having to carry this, roughly 28KG, damn he was sweating like he was in a sauna, and so was I, as I had to move these box’s from downstairs and into the office upstairs.

Yes, it comes in two sections the heaviest section is the box that is flat on the floor which holds the legs and table base hinges. The box on its side is the main table base, in three sections, two sides and a middle section that slot together.
Now building it, this is no mean feat, the legs themselves must weigh at least 8KG each, giving them one hell of a solid construction, but let’s get down to the nitty-gritty of the project. Everything you need is supplied, Allen keys, all screws and bolts, so first you need to attach the feet to the legs, easy job, as these are just bolted down. Then you need to start building the framework, two long frame bars and one middle frame, again using bolts to bring them together. After both frames are built you need to attach the frames to the legs. Now you might think by the way I have written this, that this is a piss easy job, I can tell you now, overall it was a right bitch, but well worth it once it was constructed.

Around 1hr 30mins or so and a coffee break, I was ready to attach the table top to the frame, heave hoe, as I lifted the frame on top of the table top, grabbing the bolts and then attaching the frame to the top, after I had the frame attached, I then set about double checking all bolts and making sure they were all tight.
Now it was, time to pick this damn desk up of the floor and check out the final build, this was not going to be easy, as I already said this is pretty heavy. No chance of its getting robbed that’s for certain.
Now the table has been constructed it was time for the modding to begin, I purchased some LED 50/50 strip lighting, around 5m in length with a black background, not the basic white background you normally see. In a matter of fact, these LED’s are used for outside use and they have a rubber film around each LED. I attached the LED’s to the side if the table top, all the way around.

I also decided to grab an extension cable, plug./ USB charger found one that had 4 plugs and 4 USB ports. I then attached this to the underside of the desk and was able to plug in the LED’s and all PC equipment with now only 1 cable on the floor and that was the extension cable to the mains.
The reason I decided to add the extension was simple really, as this desk has a net that attaches underneath the desk to cable manage all your wires so nothing hangs around, by attaching the extension to the desk means all cables are hidden within the meshing and only one cable is ever now seen.

Now the desk is fully built apart from the final section that is the mouse pad that covers the whole table top, weighting at an impressive 3.2KG, which has a non-slip underside making this the perfect companion for the desk and all gamers.
Setup time, laptop in the right corner, new monitor almost middle, Logitech Z333 Speaker to the sides, Razer Man O’ War header to the right, finished. Cables now, and this desks cable management system. So you have some mesh on the underside to hold the cable, but how do you get to this mesh? Well, this desk has cut-outs in the shape of clouds towards the back of the desk, where you can thread your cables through and around to different devices and plugs. (See image below)

I found this to be awesome, and now as you can see from the picture below all cable are high up, not in anyone’s way and managed well. (See images below)


Now this desk can be improved, for example, the mesh, I would advise them to alter it and instead use an elasticated mesh instead, giving more flexibility and better grip, so items, do not fall out that easily. May not be much of an issue for some cables but doing what I have done and having the LED’s and Laptop Power brick in there, it does cause some issues.
It’s fully built, set up is sorted what does it finally look like, well have a look for yourselves and make your own mind up.

The extra modifications I have done comes to around £35.00, I am also going to alter the mesh and make it a more elasticated giving it more flex and hold. Overall this desk is a joy to use, no need for a mouse mat anymore, easy to clean, does not move, very well designed and constructed, it is, to me, a joy to have and own, and I cannot express my happiness more than to say Thanks Arozzi for making my gaming life a load better.
P.S to mouse lovers, yes the mouse moves across the mouse mat very well, and I have tested the following mice, Razer Naga Hex V2 , Razer Naga Chroma, Corsair MMO, SteelSeries Rival 300 & 700, none of them has any issues communicating with the surface to the system.
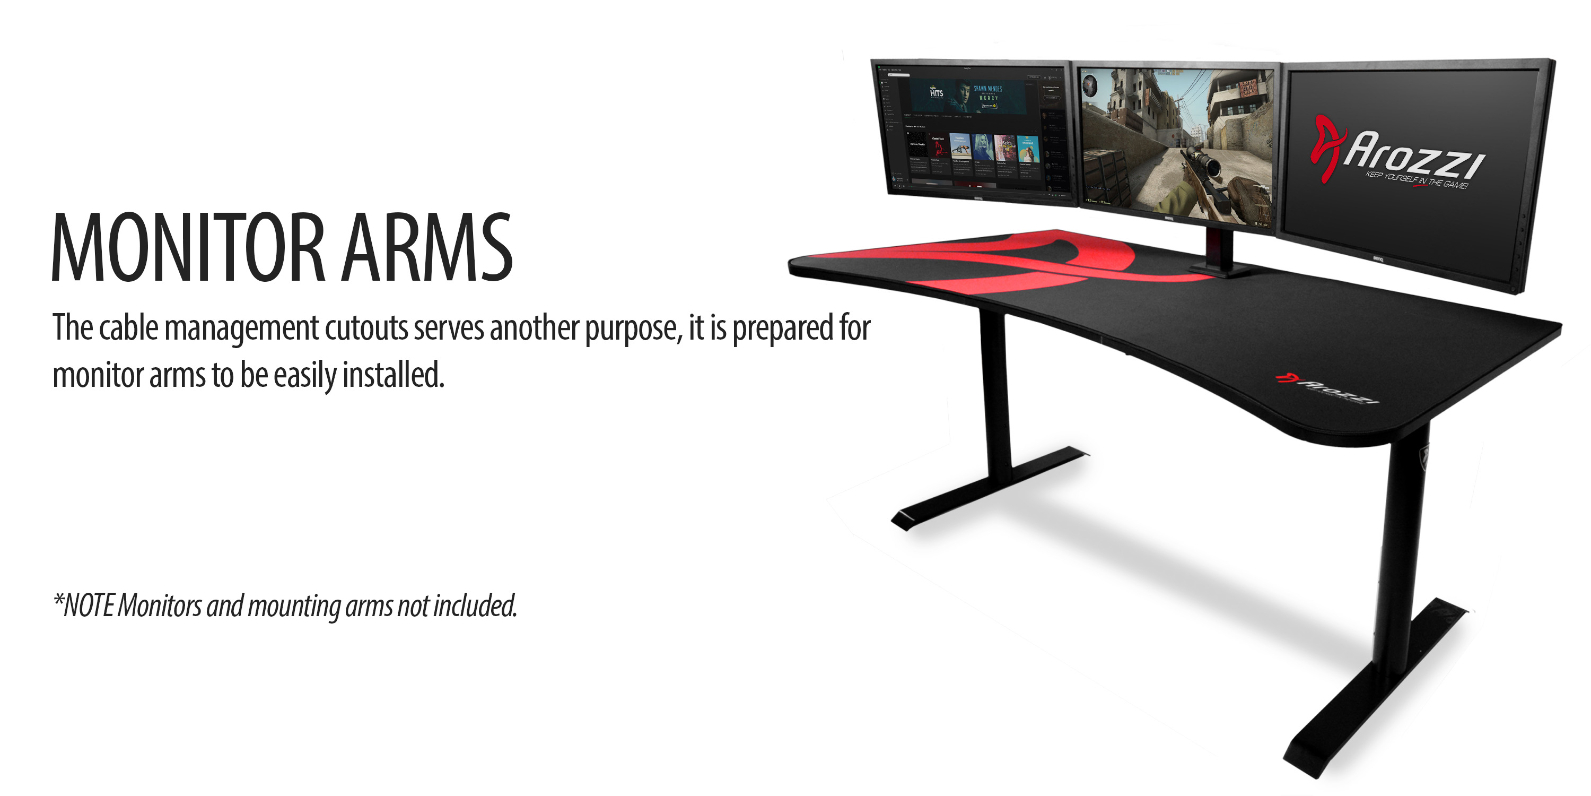
For all PC users, not laptop owners, you will be happy to hear that we managed to install a total of 3 24” 4K HDR monitors via a tv stand from element gaming and they fitted perfectly on this desk, with almost no hang, you can use bigger monitors is you wish but expect a hang in the end.


You must be logged in to post a comment.