Every gamer knows the importance of a good gaming PC; it’s truly the difference between a mediocre and transcendent gaming experience. But that power comes with a pretty steep price tag, especially if you’re paying someone to put the computer together for you.
It’s one of the reasons why many gamers now buy individual parts and put their computers together themselves. Of course, that requires a bit of research. Which parts go together and how do they all interact? If you’re looking to build your own computer, this guide will get you moving in the right direction.
Choosing the Right Parts
One of the most confusing parts of building a gaming PC is buying all of the correct parts. If you’ve never built a PC before, that’ll be your biggest challenge: buying all of the necessary parts and making sure that the parts are compatible with one another.
A good place to start is by choosing a motherboard. This is the big circuit board that connects all of your other components, and it’s going to dictate what other parts you’re going to use going forward. Most builders either buy this first in order to get an idea of what they can use, or buy it last so they can match it to their major parts.
Next, you’re going to select a CPU. Processors generally come from AMD or Intel, and they determine how ‘smart’ your computer can be. Most of your computer’s base capability is going to be determined by this choice. This choice is also based on the motherboard you choose as some motherboards are AMD based others are Intel Based.
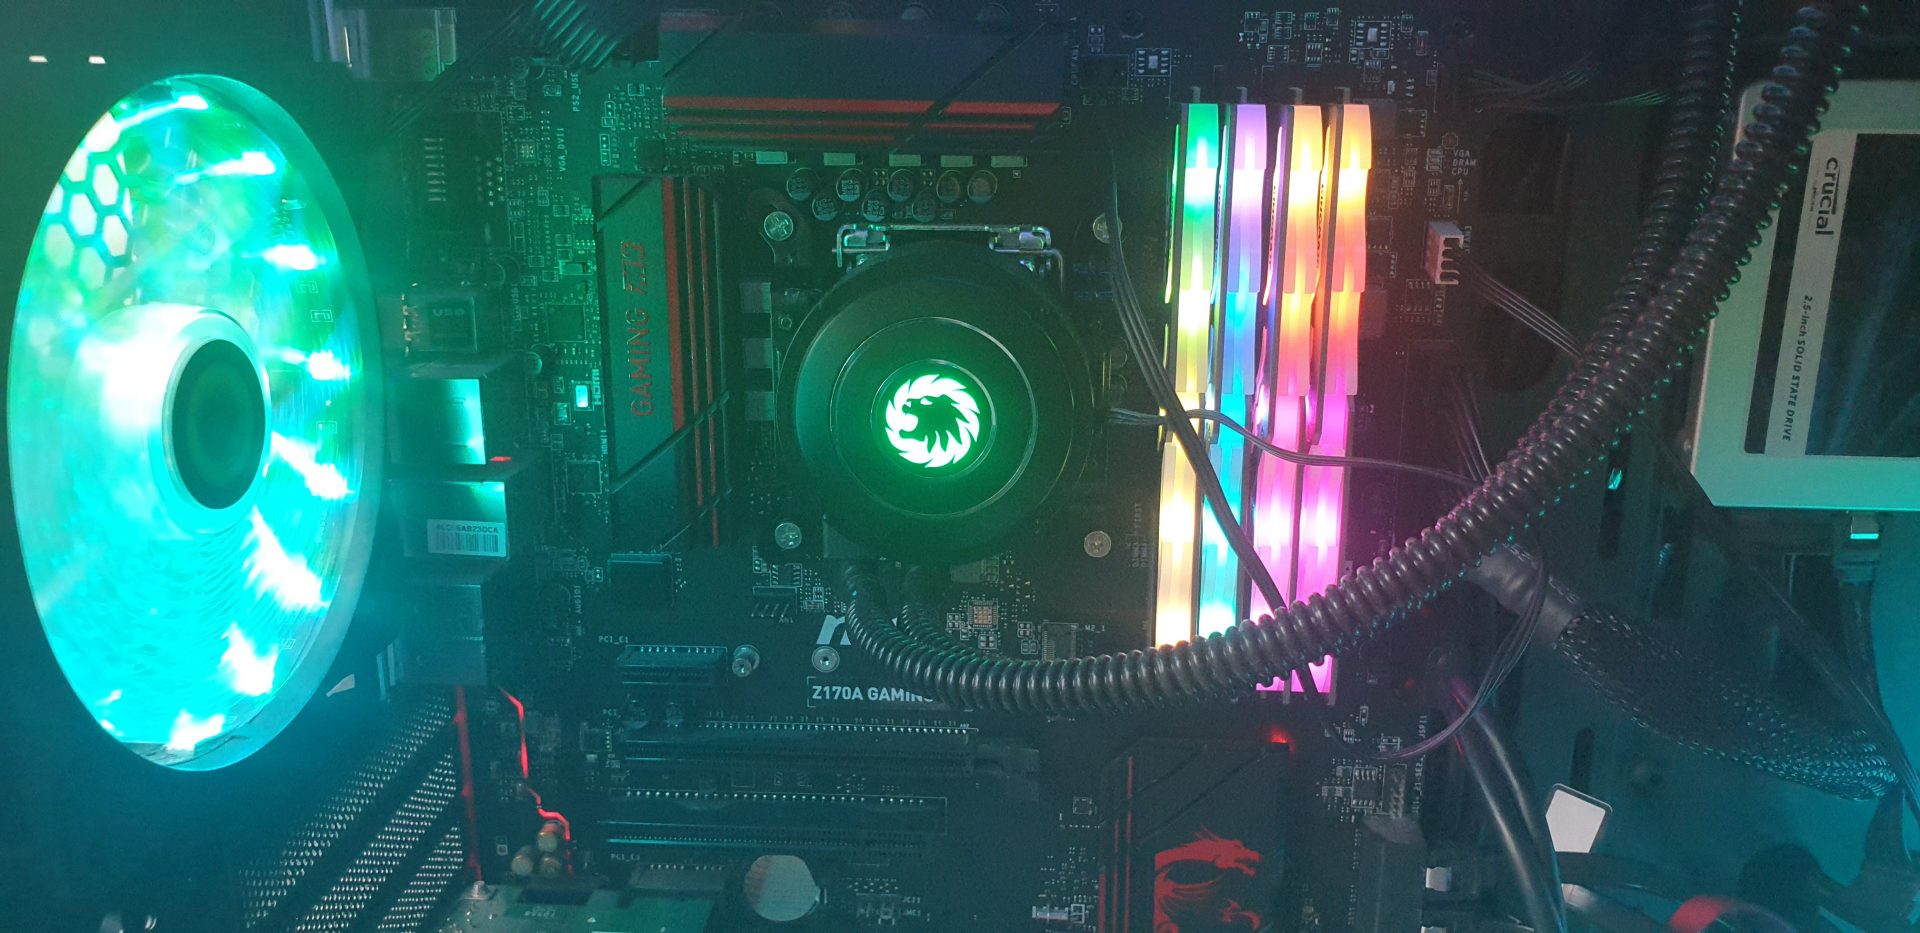
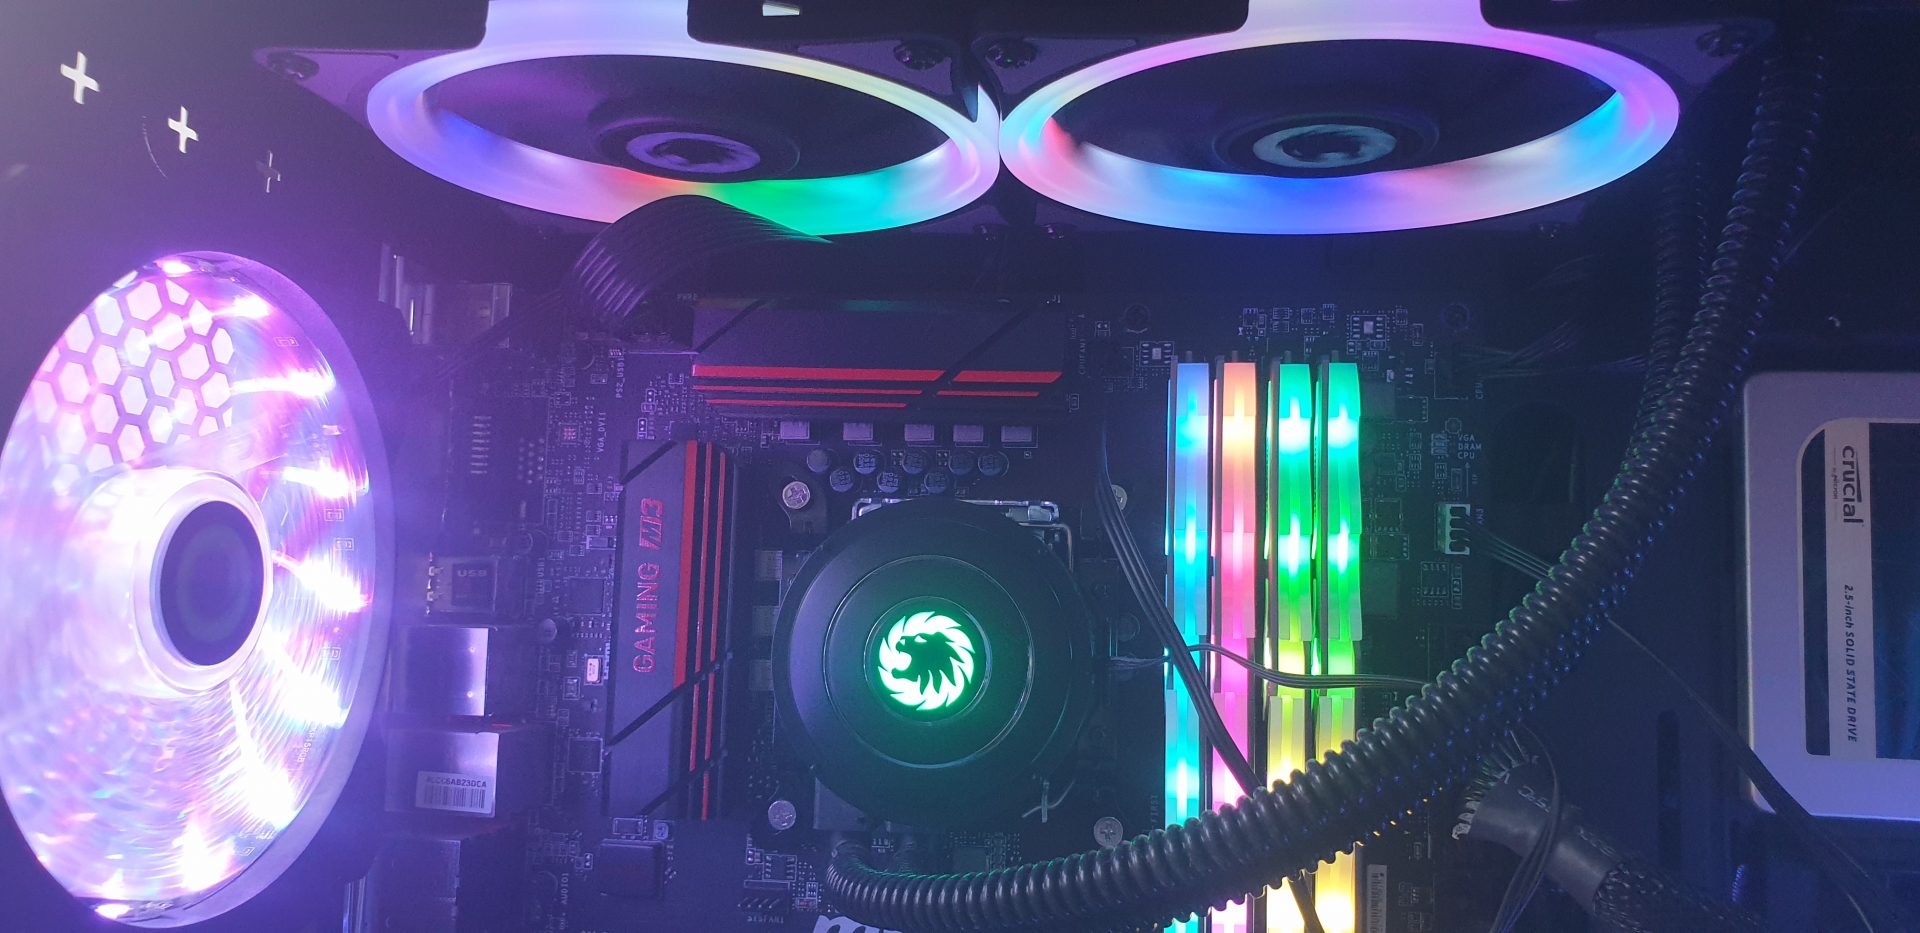
Once you’re done, it’s onto memory. If your hard drive is your computer’s long-term storage, RAM is the operation storage. RAM is generally not too expensive, but there are speedier options like DDR3 or DDR4 memory that will cost you more. Luckily, RAM’s one of the more affordable parts on this list, so be sure to get enough for your rig. There is something else to note here, the clock speed of the Ram, as an example 3000MHz, which is what I currently use in my system, might not be compatible with the motherboard you have purchased, so check the motherboards website before buying.
Now that you’ve got your short-term storage, long-term is your goal. A good hard-drive is great – look for at least a terabyte – and can really improve the speed of your rig if you select an SSD. Adding your OS to your SSD makes for a quicker boot process and ultimately for a more pleasant experience. SSDs can greatly increase your build price, though, so this type of storage is definitely optional. If you do not have the funds go for std HDD with huge storage like 7200RPM 6TB Toshiba Drive which will store plenty of music, photos and games. However, I would soley recommend an SSD for the Boot drive, something around 128GB up to 256GB.
The final ‘big’ piece for a gaming PC is the Graphics Processing Unit. The GPU, also called the Video Card/Graphics Card, allows your computer to process the complex graphics of today’s hottest games. This is probably going to be the most expensive part of your build, but it’s probably the most important for gaming. With this, its always best to go for the latest generation of cards, otherwise you will see yourself upgrading rather soon, something like a GTX2060 or mid to high-end performance or 2070 to 2080 for high-end performance. If you are not running games, an onboard GPU will be enough, like an Intel CPU comes with an onboard GPU, enough for desktop work and some basic gaming.
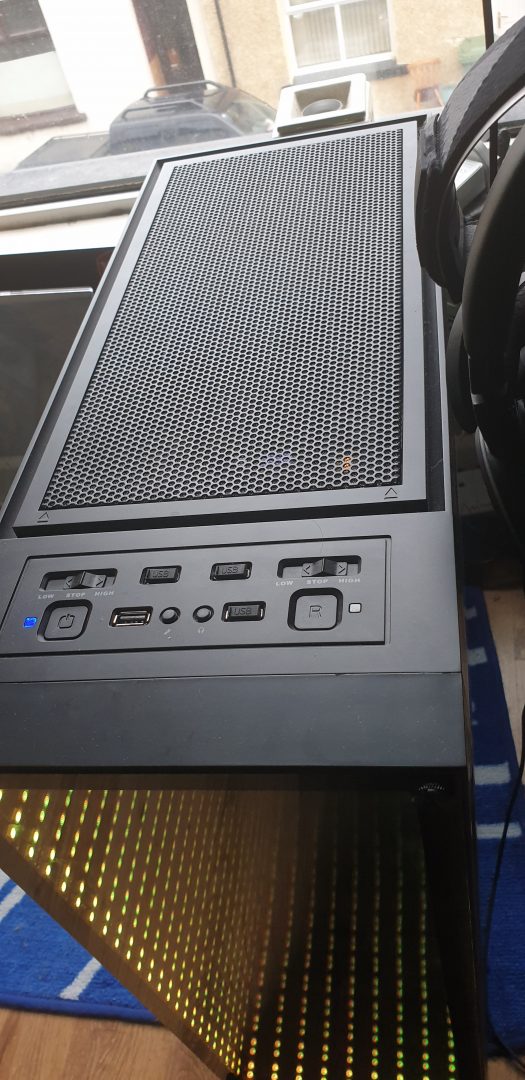
Now that you’ve got the big stuff, it’s time to move on to the rest. You’ll need some type of cooling system (fans are common) to keep your PC cool, a power supply to make sure that it runs (make sure your power supply meets the demand of your components, for gaming grab at least a 600watt PSU), and a case to put all of your components inside. You will also need to pick up accessories like a mouse, a keyboard, and even a monitor so you can actually interact with your new PC. You will also need an Operating System so that you can use the hardware and run your favorite games, Windows 10 is preferred now as everything else is either not supported or out of date.
Putting it Together
Putting together your new gaming PC can seem tough, but it’s really not all that hard. In fact, the bulk of the process is no different than putting together a LEGO model. Granted, the pieces here are a little more fragile and much more expensive, but you’ll use the same basics skills.
You’re going to start by taking out your motherboard. It’s usually a good idea to start with the tough part, so you’ll begin by installing your CPU. Open up the door for the component on the motherboard and carefully attach the unit. Close the door, and then attach your heatsink – you’ll need to use a small dab of thermal paste to do this, but it’s not that hard. Once that’s in, you can slot in your cooling system and your power supply.
Installing RAM should also be done now. This is as easy as unlocking two small tabs and pressing the RAM into the slot. You may have to use just a little bit of force, but it should take you no more than a few seconds.
Now that these pieces are attached, you can put your motherboard in the case. Line it up carefully so that the screw holes in the board match the slots on the case. Once it’s in, position it so that the expansion slots are lined up, then carefully attach the board to the case.
Now you’ll start adding in accessories. Your hard-drive, GPU, and fans all have dedicated spots on the motherboard that are fairly easy to identify. You’ll need to run the appropriate cables from the power supply to each of these devices to ensure that they work once you turn the machine on.
Once all of that is finished, you can close up your csae, attach your external accessories, and plug the computer in. If you’ve done everything right, the computer will power on and you’ll be able to install the operating system. If the computer doesn’t work, go back into the case and make sure that you’ve connected the power supply properly and that all of your other connections are secure. Most other problems are easy to identify due to error messages, and fixing them is as easy as a quick Google search.
When you’re done, you’ll have a great gaming PC that’s a fraction of the price of what you’d get off the shelf. Your first build is always the hardest, but it’s a great way to get used to building this type of machine. In time, you’ll be confident enough that you’ll never buy a pre-made unit again.


You must be logged in to post a comment.